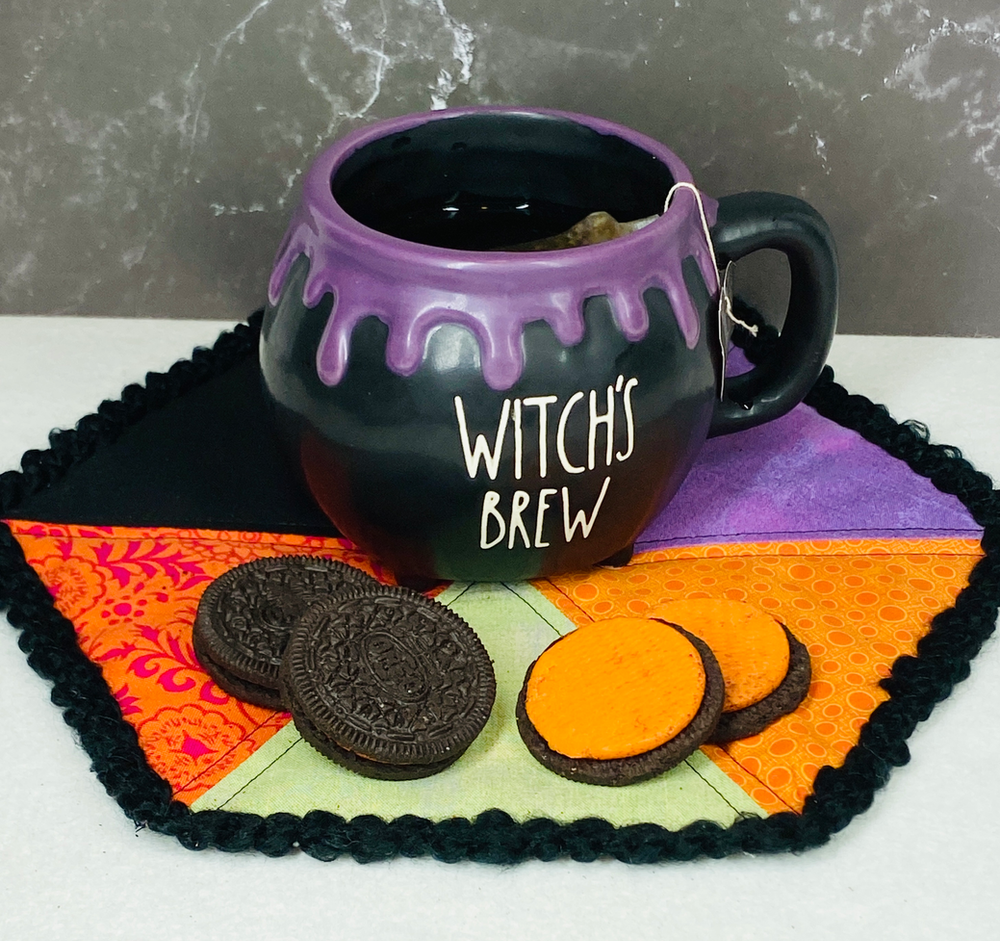
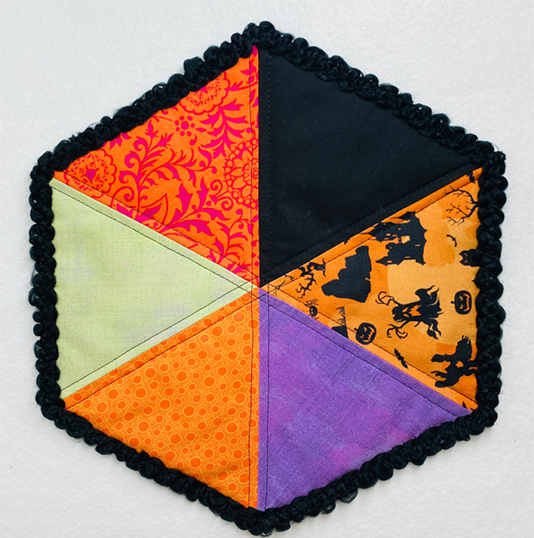
Hi, I’m Susan from Sewfeet.com and I’ve just started my holiday sewing. From Halloween to New Year’s Day, there are lots of opportunities to sew, making costumes, seasonal home décor items, and gifts for friends and family. My first holiday project is for Halloween, a simple hexagon mug rug made of triangles.
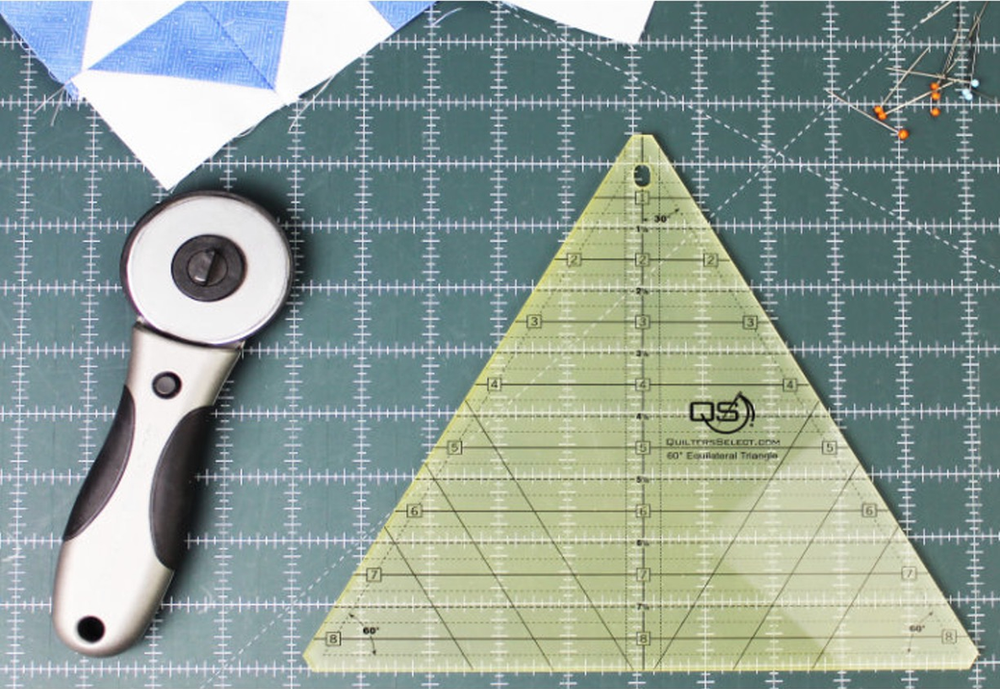
Quilters Select 60 Degree Ruler
This specialty ruler is the perfect tool for making this hexagon-shaped project. Use it to cut equilateral triangles and half triangle up to 8 ½”. It is also useful for cutting diamonds up to 16”. You can learn more about the 60 degree ruler here.
Six Triangles
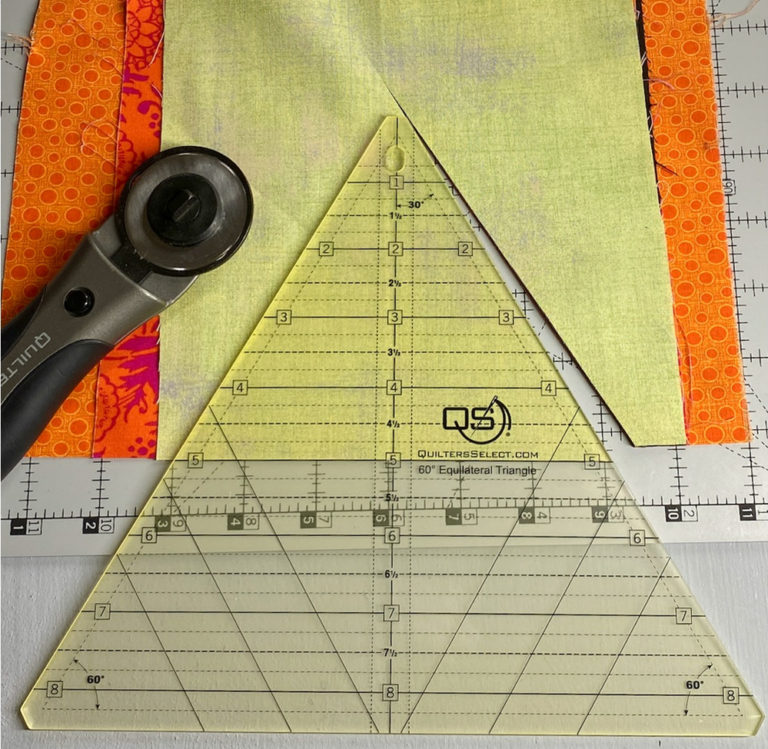
For this project I cut six 5” triangles, each one from a different fabric. The fabrics are in Halloween colors and when stitched together form a hexagon that can be used as a mug rug or a candle mat. I used fabric scraps and stacked the fabrics to cut all six triangles at the same time. Using the QS rotary cutter helped make this easy to do. The extra weight of this cutter helps to easily cut through multiple layers. Also, the non-slip coating on the back of the QS ruler keeps it from slipping on the surface of the fabric. Here’s how I cut out the triangles:
Trim one edge of the fabric that becomes the lower straight edge of the triangle.
Position the 5” line on the straight edge.
Trim the sides and the top of the triangle. The clipped top of the triangle makes it easier to accurately piece the triangles and it minimizes the trimming once the triangles are sewn together.
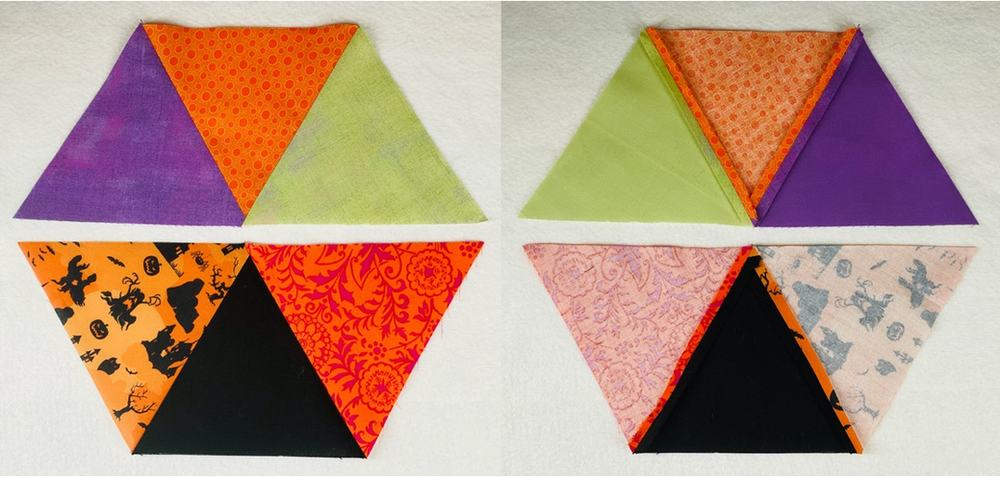
Join the Triangles
Stitch three triangles together and trim the dog ears. Press the seams open. This reduces the bulk in the center of the hexagon when all of the triangles are sewn together. Repeat the stitching and pressing with the remaining three triangles together. Place the two sets of three right sides together and stitch the center seam.
Quilting the Hexagon
Place the hexagon on a 10” square of batting. I’m using my favorite fusible batting – Embellish Premium Fusible Batting. I like it because it has more loft that other fusible battings I have used. I fused the batting to the wrong side of the hexagon and then trimmed the excess batting around the edges of the hexagon. Next, I used the hexagon to cut out the backing and adhere it to the batting using temporary spray adhesive.
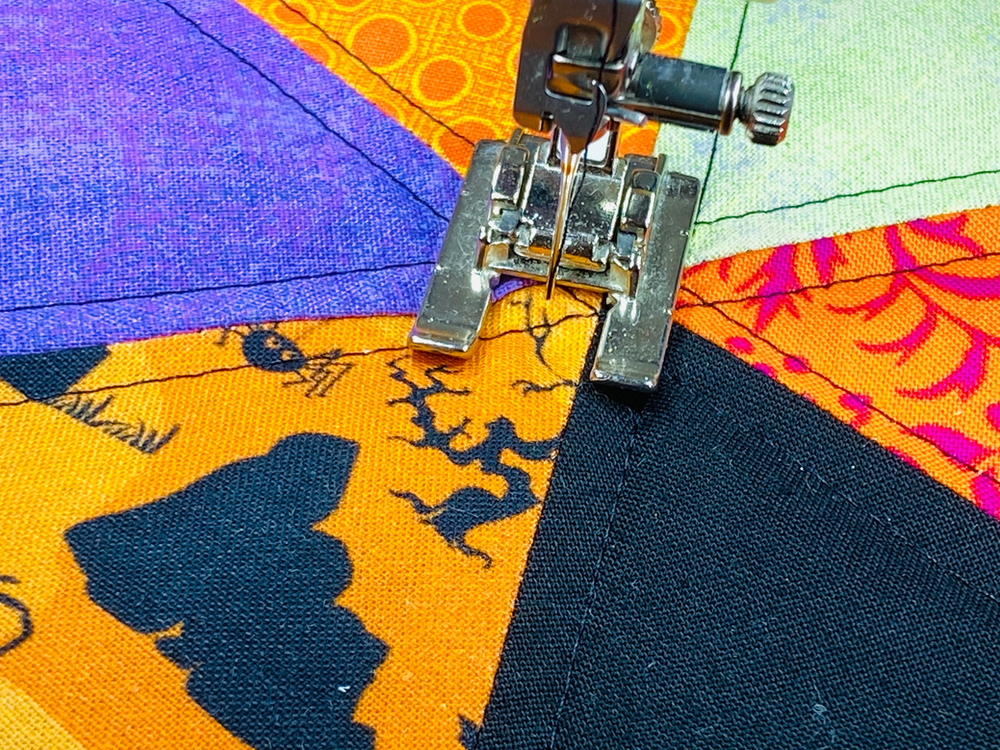
You can use any style of quilting on this project, but I went with a minimal look. I sewed a line of straight stitching ¼” away from each side of the seam lines – six lines of stitching to accent the triangular shapes. I used an open toe foot so I could position each seam next to the inside toe of the foot. Then, I adjust the needle position toe stitch ¼” away from the seam.
Finishing
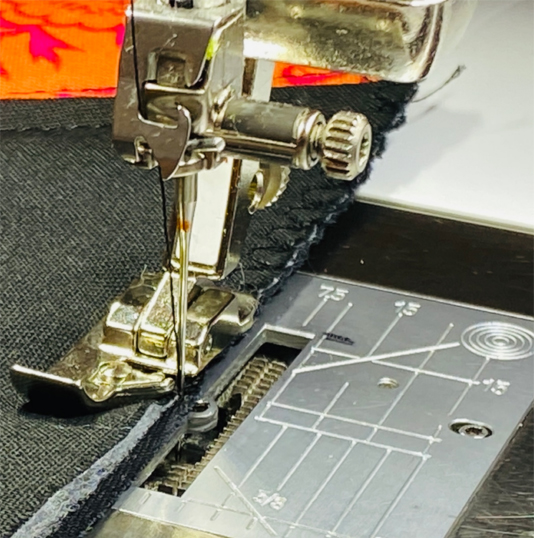
The final step is to finish the edges. It is a good idea to overcast the edges to “seal” them before covering them. I used an overlock presser foot with an overlock stitch to compress the edges, resulting a cleaner edge that is easier to finish.
Have you started your holiday sewing? It’s still early so you have plenty of time to make beautiful and useful items to celebrate all of the holidays!
I finished the edges by couching a textured yarn on top of the overlock using the open toe foot and a zigzag stitch.