• Clothesline rope. There are different thicknesses but any cord will work.
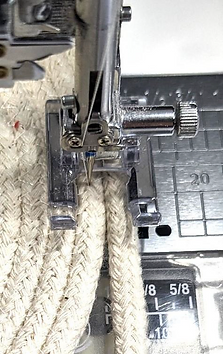
• A pressure foot that has a channel on the bottom so the cord will feed through the channel. I also like an open toe foot to allow me to see where I am stitching.
• An extension table for your machine if you have one.
• (optional) Quilter’s Select Para cotton poly thread. I like this thread because it’s very thin and strong. I use this in the bobbin as well.
• An 80/12 denim or microtex needle.
• A Quilter’s Select Glue Stick
• A Quilter’s Select Erasable Marker
• A Quilter’s Select ruler any size from 5” to 8” square.
• Quilter’s Select Quilting Clips.
• Size 90/14 Embroidery Needle.
• A pinking or zig zag rotary cutter blade. Use this to cut your strips. Less fraying.
• Various strips of 1 ¼” wide fabric. I used a jelly roll and cut the strips in half.
• Floriani Perfect Stick Cutaway to fit your hoop.
• Floriani Water Soluble topper.
• (optional) A piece of RNK Deco Magic, Floriani Stitch n Shape or 3 layers of Floriani Fusible Cutaway to stiffen the bottom of the Basket.
1. Thread your machine with the Quilter’s Select Para Cotton Poly thread in the top and bobbin.
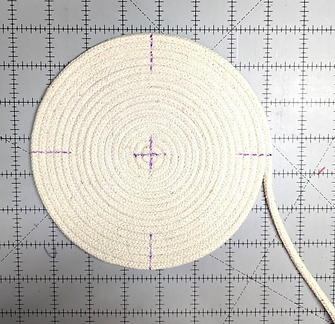
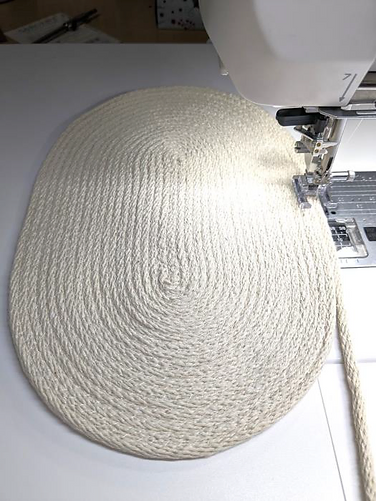
2. Roll the cord into a coil until it’s about 1 ¼” wide. Hold in place and straight stitch across and at a 90 degree angle.
You will need to stitch multiple times both directions. To do that, end with your needle down, turn the coil and stitch again where you previously stitched. Mark the stitching lines with your QS marker. Make sure the excess cord in on the right side of the coil.
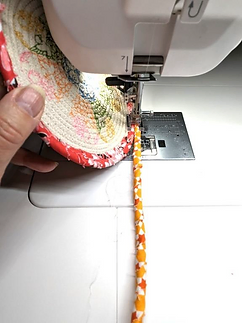
3. Set your machine for a zig zag stitch with the length at 3mm and width at 4mm. Attach your open toe foot with the channel and set your needle to stop down. Attach your extension table and slow the speed of your machine.
4. Place the coil under the pressure foot and line the up the area where the cords meet with the center of the pressure foot. Slowly zig zag the cords together. Stitch a few stitches at a time. As you stitch, stop with the needle down, raise the pressure foot and pivot. If you are having trouble catching both cords, you can widen your stitch. It may also help if you shorten your stitch a bit.
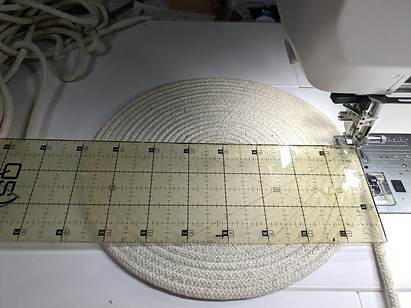
5. Continue turning and stitching. As you stitch, place your hand on top of the piece to keep it flat. Also, try not to pull the cord too tightly as you stitch.
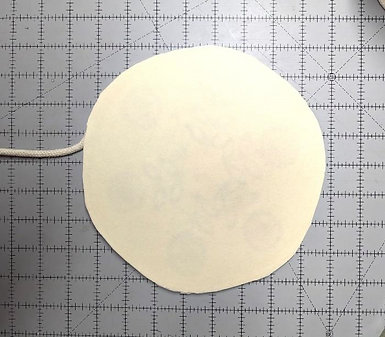
6. Turn and stitch until your piece measures at least 7” wide and complete the stitching.
Create the bottom of the Basket
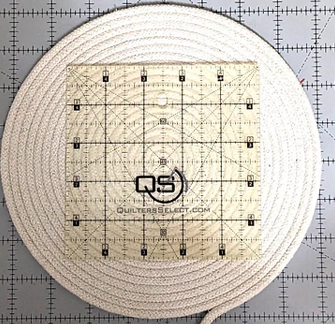
1. Visually center your QS square ruler over the stitched base piece.
2. Using the ruler, mark the centers on all 4 sides.
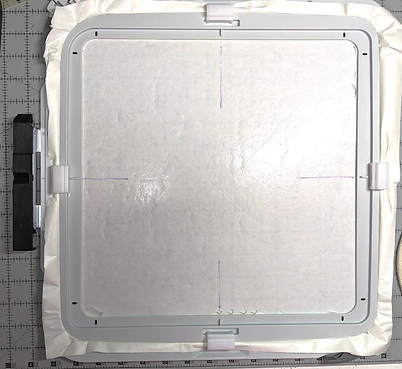
3. Hoop a piece of Floriani Perfect Stick Cutaway. Score and remove the paper. Using the marks on the hoop and a ruler, mark all 4 centers on the stabilizer.
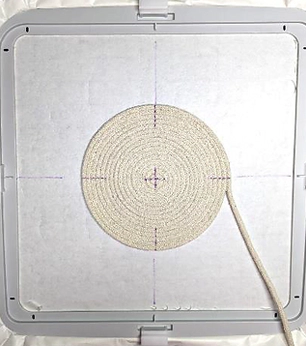
4. Place the bottom piece on the stabilizer, lining up the marks. Make sure the cord is coming off the right side.
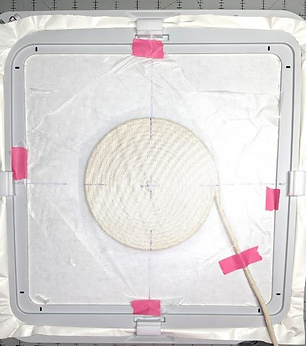
5. Place 2 layers of Floriani Water Soluble topper on top. Tape in place with the Emb. Perfection Tape.
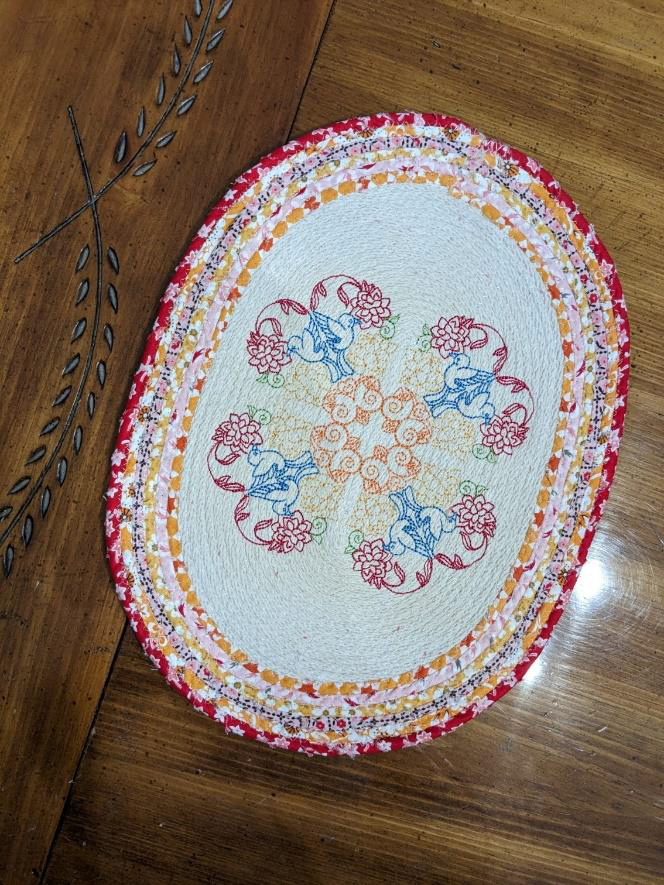
6. Slow your machine down and insert the 90/14 embroidery needle. Embroider your design. Your pressure foot should “float” above the cord. If your pressure foot is touching or pushing on the cord, you may need to raise your pressure foot.
7. Remove the Water Soluble topper, lift and remove the bottom from the stabilizer. Cut the stabilizer as close as you can to the stitching.
8. Dampen the remaining topper with a water bottle and use a damp wash cloth to wipe away the rest.
Create the bottom of the Basket
(optional)I find it helpful at this point to fuse a piece to the bottom to stiffen it. The products used for this are listed in the supplies list above.
• Place the bottom on the base product and trace around it.
• Cut out the piece and fuse it to the back of the bottom piece.
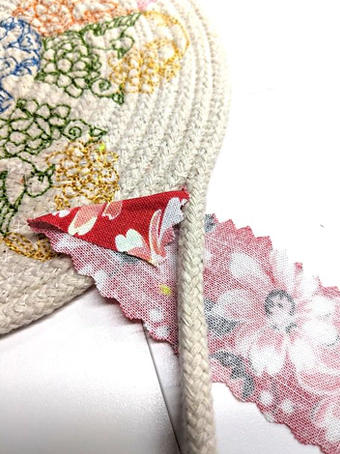
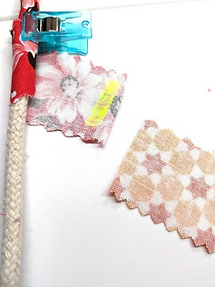
1. Place the end of the first fabric strip under the cord, wrong side up. Use the glue stick to glue the end to the wrong side at a 45-degree angle.
2. Fold the folded end up to the top edge of the fabric strip, over the cord. Glue in place.
3. Wind the strip around the cord one time. Use a QS quilting clip to hold the beginning in place.
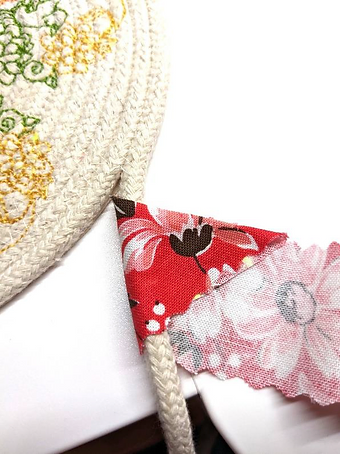
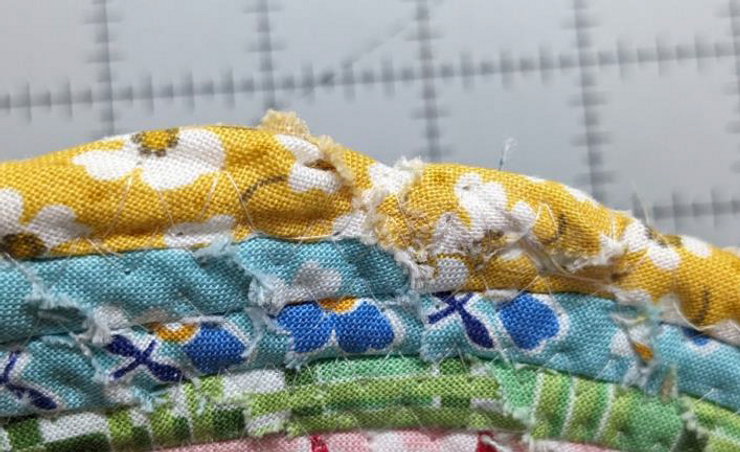
4. Continue winding the fabric strip around the cord. Keep the strip at about a 45-degree angle to the cord as you wind. Wind around the cord twice, hold the cord, place 2 fingers on the backside of the strip on the machine bed and pull your fingers away from the cord to tighten the fabric. See the Clarrisa’s Corner video for August 3rd. https://www.facebook.com/FlorianiEmbroidery/videos
5. At this point you can wind a little at a time or choose to wind the entire length of the fabric strip. Either way, place
a QS clip at the end of your winding to hold the strip in place.
6. To form the shape of the basket you will need to lift the base up toward the head of the machine as you stitch the strips on. The more you lift the base, the deeper the curve of the basket. It also helps to pull the cord as you stitch it on.
7. Continue stitching and lifting the base until the end of the fabric strip. To attach a new strip, glue the beginning of the new strip to the end of the previous strip with the QS glue stick. Carefully begin winding the next strip and place a clip where the strips intersect.
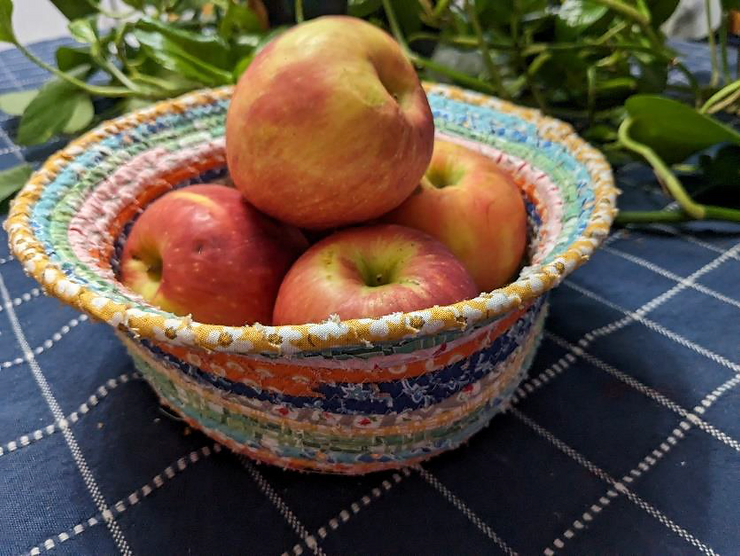
8. Continue winding, lifting and stitching until the basket it the size you want.
9. To end, cut the cord and continue winding the fabric strip about ½” past the cord. Glue the fabric to the cord and itself.
10. Tuck the end over the top of the previous row and stitch on top of the previous row. Reverse and stitch again.
OPTIONS
Create the bottom of the Basket
• Instead of turning the basket toward the head of the machine while stitching, pull the edge of the basket up and feed in extra cord while you stitch. Push the wrapped cord into the center of the foot as you stitch.
Create the bottom of the Basket
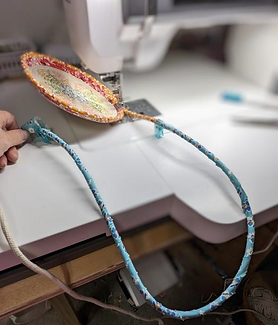
• Begin by folding a length of the cord in half and stitch the halves together. The longer the length of cord, the longer the finished oval shape.
• Stitch the cord around the edge of the folded center cord