An Old Applique Technique with a New Tool to Make It Easier
Appliqué is a fun technique with many variations. Hi, I’m Susan from Sewfeet.com and in this post, I want to show you an appliqué technique from the 17th century that stitchers are still using today! Broderie Perse is a French phrase that means Persian embroidery. The appliqué shapes for this technique are cut from printed fabric. Originally, the shapes were cut from printed chintz, which usually was covered with large floral patterns and was a very expensive fabric. Stitching the flowers or other motifs on plain fabrics was a way to stretch the use of the prettier, more costly chintz fabric.
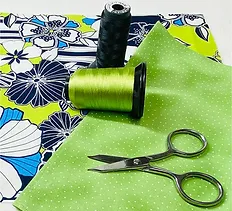
Appliqué Supplies
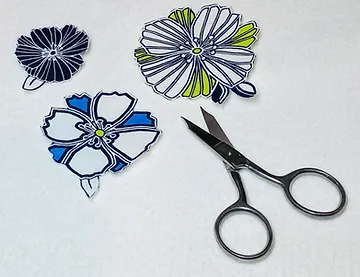
A fabric with a large print consisting of motifs you can fussy cut to use as appliqué shapes.
Small Scissors – I used RNK Precision Tip Scissors – the best I’ve ever used for fussy-cutting and precise trimming of appliqué shapes. These scissors are new to me and turned out to be the perfect tool for the fussy cutting required for this technique.
Background fabric that coordinates with the large print motifs – usually a solid or subtle print that lets your chosen motifs be seen. The amount depends on your project. I am working on a 10” square.
40-wt Floriani embroidery thread in a color that coordinates with the background for quilting. You can use this same thread for the appliqué technique or choose a different color for contrast. I matched my background thread with the fabric color and chose black for the appliqué stitching.
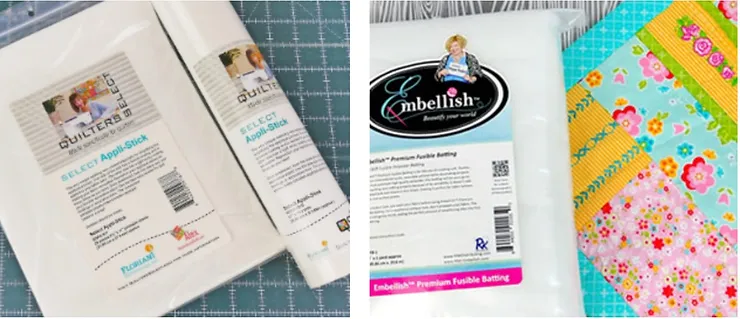
Fusible Web & Batting
Select Appli-Stick – a fusible web from Quilters Select used for adhering the appliqué shapes to the background fabric.
Embellish Premium Fusible Batting – my fabric choice for a soft quilted look, also a 10” square.
Again, depending on your project, you may or may not use batting. If not, you will need interfacing and/or stabilizer.
Presser Feet
You’ll need a presser foot for quilting the background – I used an all-purpose presser foot. My project is small, and the fusible batting prevents the layers from shifting. If you are working on a larger project, you may want to use a walking foot. I also used a free-motion presser foot for the appliqué stitching.
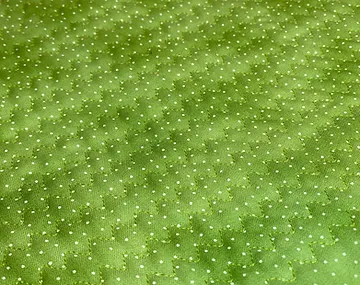
Quilting the Background
Fuse the Embellish Premium Fusible Batting to the wrong side of the background fabric. Quilt the fabric as desired. I selected a running stitch, which looks like a rounded zigzag stitch. I selected this stitch because it creates a nice texture when stitching repetitive lines of it across the fabric. I sewed horizontal lines using the edge of the presser foot for spacing. Once quilted, set the background fabric aside.
Preparing the Appliqué Shapes
Select the desired motifs from the large print fabric and rough-cut around the shapes in one piece that can be backed with fusible web. Peel the paper off one side of the Appli-Stick fusible web and apply the exposed adhesive side to the wrong side of the rough-cut print fabric.
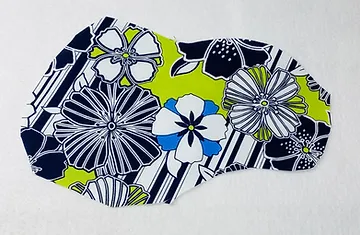
Fussy Cutting
Using the RNK Precision Tip Scissors, cut out the desired motifs. These scissors are small, giving you control as you cut. The finger holes are large, so they are comfortable to use. One of the things I like about these scissors is that the tips are very narrow, and they cut all the way to the end. The micro-sized tips are great for getting into tiny hard-to-reach places that need to be trimmed.
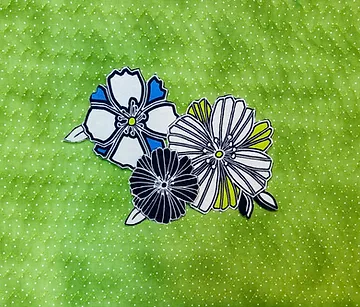
Arranging the Appliqué Shapes
Arrange the trimmed motif as desired on the quilted background fabric. The Select Appli-Stick fusible web has adhesive on both sides. It is repositionable so you are able to move the shapes around until you have the look you want. Once you do, take a photo to use as a reference as you are stitch. If the motifs are overlapped, remove the upper ones to expose the lower layer. Fuse the lowest flower to the fabric and stitch according to the directions below. After stitching each shape, fuse the next one, using your photo as a guideline for placement. Stitch this one in place and continue this method until all of your motifs are stitched.
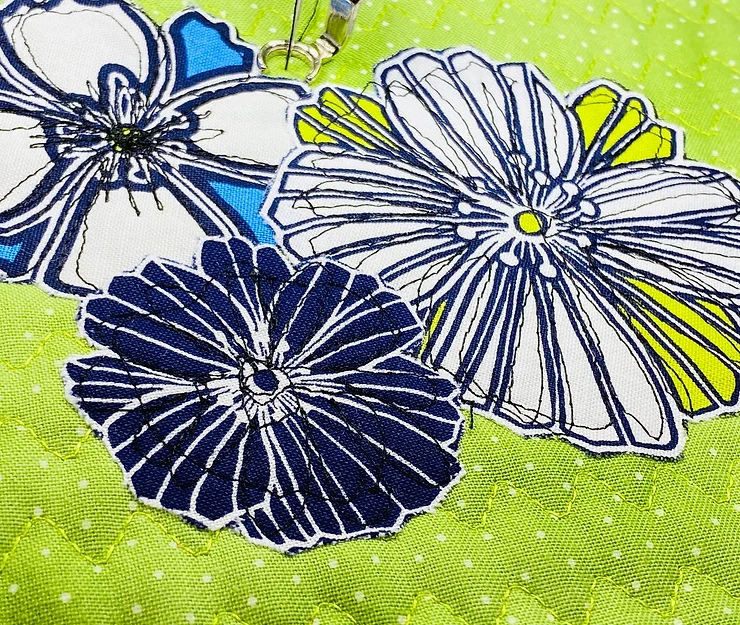
Stitching the Appliqué Shapes
Of course, in the 17th century, the appliqué shapes were stitched to the background by hand. The raw edges of the shapes were turned under using the tip of the needle, and then stitched to the background fabric. Today’s version of Broderie Perse may be stitched using any applique technique such as satin stitch, blanket stitch, raw edge, or free-motion stitching. I secured my shapes using free-motion stitching, adding a little thread painting to add details to the fused motifs. After attaching the free-motion presser foot to my machine, I lowered the feed dog so I could move the fabric. I pulled the bobbin thread up to the surface of the fabric and then I moved the fabric under the needle to secure the flower shapes. You can be precise with your free-motion stitching or as loose and free as you want while “doodling” over the appliqué shapes.
For more information from and about Susan, visit her at Sewfeet.com.